Eco-Friendly vs Standard House Cleaning
October 13, 2026
Table of Contents
- Why Deep Cleaning Your New Home Matters Before Unpacking
- Move-In Cleaning Checklist: Room-by-Room Tasks
- Floors, Baseboards, and High Surfaces
- New Home Cleaning Checklist Printable: Often-Missed Areas
- How Long to Deep Clean a House: Time Estimates and Prioritization
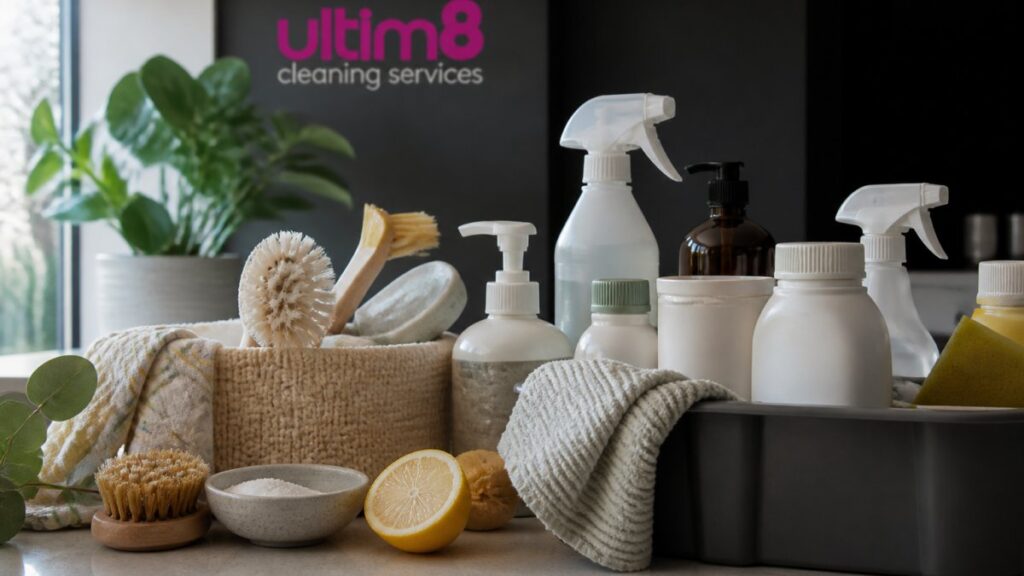
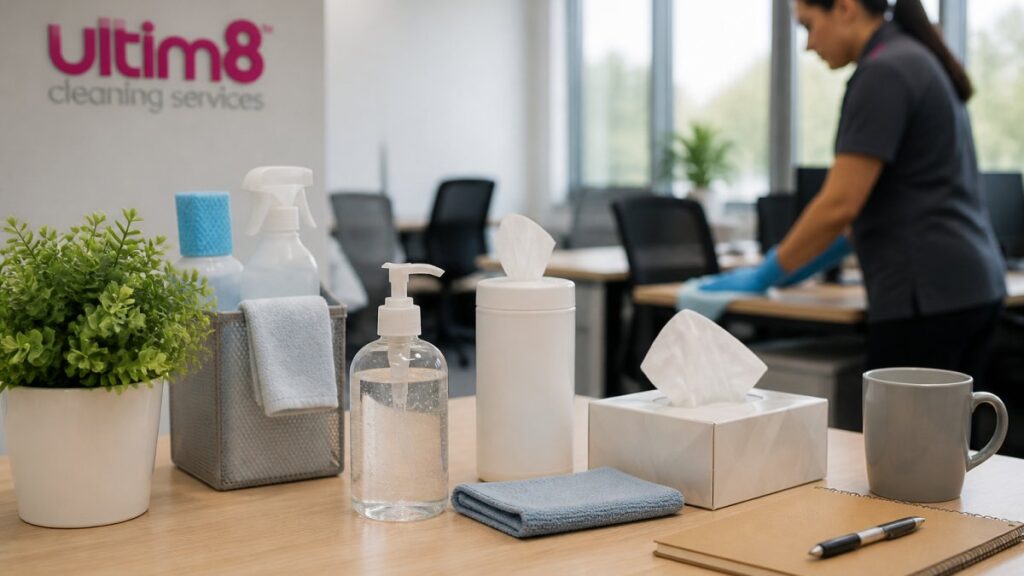
- Move-In Cleaning Supplies You’ll Need
- Cleaning Safety and Ventilation During Your Deep Clean
- When to Hire Professional Cleaners for Your Move-In
- Frequently Asked Questions
Last Updated: October 13, 2026
Why Deep Cleaning Your New Home Matters Before Unpacking
Moving into a new home is exciting, and the perfect time to start fresh with a thorough deep cleaning checklist for moving into a new home.
Most people skip this step, unpack, and settle in, then realize the space hasn’t been properly cleaned in months or years.
A deep clean before you move in changes everything: you’re sanitizing the space your family will live in, removing allergens, ensuring appliances work properly, and creating a healthy foundation.
At Ultim8 Cleaning Services, we help families tackle this task systematically. Whether you handle it yourself or hire professionals, the approach is the same: work room by room, high to low, and don’t miss the hidden areas that matter most.
Move-In Cleaning Checklist: Room-by-Room Tasks
A room-by-room approach keeps you organized and prevents missed areas. Complete one room fully before moving to the next, it’s faster than jumping around.
Kitchen Deep Cleaning
The kitchen gets heavy use immediately, so clean it thoroughly before moving in food and dishes. Start at the top: wipe light fixtures and ceiling areas, remove cobwebs and dust, then work down to countertops and appliances.
Clean every appliance inside and out:
- Refrigerator: Remove shelves and drawers. Wipe down the interior. Check the coils in back
- Oven: Scrub the interior. Remove old residue and grease
- Microwave: Heat water inside to loosen stuck-on food, then wipe clean
- Dishwasher: Run an empty cycle with vinegar to sanitize the interior
- Washing machine: Run a hot water cycle with vinegar or a cleaning solution
Don’t forget cabinet interiors: open every cabinet and drawer, wipe shelves, remove shelf paper or debris, and sanitize with an all-purpose cleaner. Scrub countertops thoroughly, especially corners and seams where bacteria hide, and wipe the sink and faucets with disinfectant.
Bathroom Sanitizing and Disinfecting
Bathrooms require extra care, they harbor bacteria and mold that affect your family’s health (the CDC). Clean the toilet thoroughly with a scrub brush and disinfectant, getting under the rim and the exterior base.
Scrub the shower and tub to remove soap scum and mold, using a brush on grout lines and crevices, then rinse completely.
Wipe down all surfaces with disinfectant:
- Sink and faucet handles
- Mirror and light fixtures
- Baseboards and corners
- Door handles and hinges
- Medicine cabinet shelves
Sanitizing is critical: use a disinfectant that kills bacteria and viruses and let it sit for the label’s recommended time.
Bedrooms and Living Areas
Bedrooms and living rooms collect dust and allergens, so clean them thoroughly before moving in. Dust top to bottom: ceiling corners and light fixtures first, then windowsills and door frames, then baseboards and corners.
Wash window glass on both sides and wipe sills and tracks, removing debris or dead insects. Vacuum or sweep all floors slowly, including corners and under where furniture will go. Wipe down closet shelves and rods before hanging clothes.
Floors, Baseboards, and High Surfaces
Floors are the largest surface in the home and the most easily damaged by the wrong product, so match the method to the material.
Match the cleaner to the floor
- Sealed hardwood: Damp-mop only. A microfiber pad wrung nearly dry is enough. Standing water warps seams and dulls finish. Avoid steam mops and oil soaps unless the manufacturer specifies them.
- Engineered or laminate: Same rule as hardwood, barely damp. Never wet-mop; moisture seeps into the core and swells the planks.
- Luxury vinyl plank (LVP): pH-neutral cleaner, damp mop. Skip abrasive pads and anything with citrus oil, which can haze the wear layer.
- Tile and grout: Warm water and a neutral cleaner for routine; a soft brush for grout lines. Avoid acidic cleaners on natural stone tile.
- Natural stone (marble, travertine, granite): Stone-safe pH-neutral cleaner only. Vinegar, lemon, and most all-purpose sprays etch or dull the surface.
- Sheet vinyl: Damp mop with a neutral cleaner. Skip abrasive powders.
- Carpet: Vacuum with a HEPA-filter machine, then spot-treat. For a deep clean, a hot-water extraction pass is the standard method, schedule it before furniture arrives.
Never use the same mop water across rooms when you’ve just cleaned a bathroom. Cross-contamination is the most common mistake on move-in day. Swap the pad or bucket between zones.
Sequence for floors
- Vacuum or sweep every floor, including under where furniture will go.
- Clean baseboards and trim next, dust falls onto the floor, not the other way around.
- Mop hard floors last, working from the farthest corner toward the exit.
- Let floors dry fully before walking on them or placing anything down.
Baseboards, trim, and doors
Wipe baseboards with a microfiber cloth and pH-neutral cleaner. For painted trim, keep the cloth damp, not wet, excess water dulls paint and swells MDF. Use a soft brush or vacuum crevice tool on the top edge, and don’t forget door casing tops and hinge-side edges.
High surfaces
Dust before you wipe: a dry microfiber or extendable duster grabs loose debris without smearing, then follow with a damp cloth.
- Ceiling fans: Wipe each blade top and bottom; dust falls straight down onto whatever is below.
- Light fixtures: Turn off the breaker before removing glass shades. Wash shades in warm soapy water and dry fully before reinstalling.
- Crown molding and ceiling corners: Extendable duster, then a damp cloth on a pole.
- Vents and exhaust fans: Vacuum the grille, then wash removable covers in warm soapy water. Replace HVAC filters at move-in, this is the single easiest air-quality upgrade.
High-to-low, dry-to-wet, back-to-front. If you follow only one rule on move-in day, follow that one, it prevents redoing work you’ve already finished.
New Home Cleaning Checklist Printable: Often-Missed Areas
Most checklists stop at “wipe the counters.” The items below are the ones people skip, and the ones that matter most on move-in day. Use this print-ready pass room by room.
How to use this checklist
Work top to bottom, back to front, and dry to wet, finishing one room before the next so you don’t track dust into clean spaces. Print this section and check boxes as you go.
Kitchen, often-missed items
- Tops of upper cabinets (dust and grease film)
- Inside the range hood and the filter (soak in degreaser, then scrub)
- Refrigerator coils and the drip pan behind the kick plate
- Door gaskets and seals on the fridge, oven, and dishwasher
- Under the sink: cabinet floor, pipe collars, and disposal flange
- Cabinet hinges, pulls, and the inside lip of every drawer
- Backsplash grout and the seam where counter meets wall
- Toe-kick area under lower cabinets
Bathrooms, often-missed items
- Exhaust fan cover (vacuum, then wash in warm soapy water)
- Behind the toilet tank and the bolts at the base
- Shower door tracks and the rubber sweep at the bottom
- Caulk lines at tub and sink (replace if cracked or discolored)
- Inside the medicine cabinet and under the vanity
- Toilet paper holder, towel bars, and robe hooks
Bedrooms and living areas, often-missed items
- Ceiling fan blades (top side, not just the visible edge)
- Inside closet rod brackets and shelf tops
- Window tracks, weep holes, and the top of the sash
- Air return grilles and supply vents
- Door tops and the hinge-side edge of every door
- Outlet and switch plates (wipe, don’t spray)
Whole-home touchpoints
- Thermostat and its surrounding wall
- Handrails and stair balusters
- Light switch plates and dimmer dials
- Door knobs, deadbolts, and strike plates
- Smoke and carbon monoxide detector housings
- Garage door opener wall panel and remote
Snap a photo of each completed room. If you hire help later or do a second pass after the movers leave, the photos make it obvious what’s already been done.
Why these get missed
High-touch points and hidden surfaces collect the most residue but sit outside normal sightlines. A previous occupant’s hand oils, cooking aerosol, and dust settle on vertical and overhead surfaces a quick wipe-down never reaches, and hitting them before furniture arrives is far easier than after.
How Long to Deep Clean a House: Time Estimates and Prioritization
Time matters when you’re moving, so plan strategically.
Prioritize spaces you’ll use immediately, kitchen, bathrooms, and bedrooms, then living areas and less-used spaces. Complete one room fully before moving on to save time and mental energy. If time is tight, hire professional cleaners for the heavy lifting so you can focus on unpacking.
Move-In Cleaning Supplies You’ll Need
Stock up on supplies before you start so you’re not making mid-project store runs.

Essential cleaning supplies:
- All-purpose cleaner for general surfaces
- Disinfectant spray for bathrooms and high-touch areas
- Glass cleaner for windows and mirrors
- Microfiber cloths for dusting and wiping
- Scrub brushes for tough spots and grout
- Paper towels for cleanup
- Trash bags for debris
- Rubber gloves to protect your hands
- Vacuum cleaner or broom and dustpan
- Mop and bucket for floors
Consider your home’s specific needs: a grout brush for tile grout, appropriate cleaner for stainless steel appliances, and the right mop and solution for hard floors. Buy quality supplies, cheap microfiber sheds fibers and weak brushes don’t clean effectively.
Ultim8 Cleaning Services uses high-quality, environmentally safe products that deliver results without harsh chemicals. If you prefer professional-grade supplies, ask about what works best for your home’s specific surfaces.
Cleaning Safety and Ventilation During Your Deep Clean
Safety matters when using cleaning products. Open windows and doors to create airflow and prevent chemical fumes from building up, especially in bathrooms and kitchens where stronger cleaners are used.
Never mix cleaning products. Combining bleach with ammonia creates toxic gas. Mixing different cleaners can create hazardous reactions. Use one product at a time. Rinse surfaces between different cleaners.
Wear rubber gloves to protect skin and improve grip on wet surfaces. Read labels and follow dilution ratios and contact times, some disinfectants need several minutes to work. Use appropriate tools: abrasive brushes damage delicate finishes, while microfiber cloths work on most surfaces without scratching. Test cleaners on inconspicuous areas first.
When to Hire Professional Cleaners for Your Move-In
Sometimes hiring professionals makes sense, they have expertise, tools, and speed DIY can’t match. If your home is large or heavily soiled, a team completes in hours what takes you days, freeing your time for unpacking.
Professional cleaners reach areas you can’t, know which products suit each surface, and work efficiently because they do this daily.
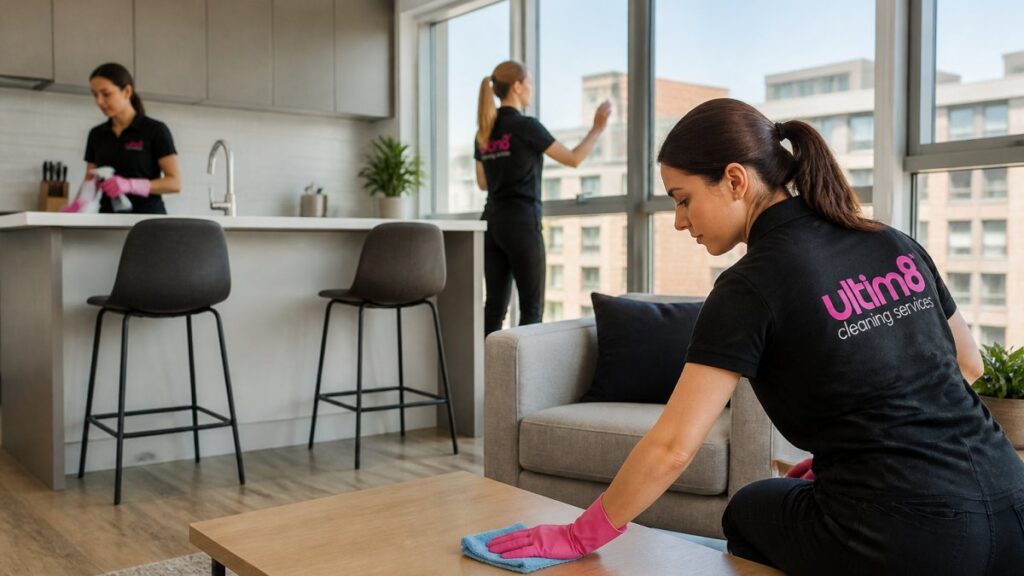
Ultim8 Cleaning Services sends insured and background-checked cleaners who work through detailed checklists. They handle the deep cleaning checklist for moving into a new home systematically. You get a spotless home ready for move-in without the physical strain.
Professional cleaners can also handle move-out cleaning at your previous home, so you move from a clean space into a clean space.
Moving into a new home deserves a fresh start. Ultim8 Cleaning Services specializes in move-in deep cleaning with insured, background-checked cleaners who work through comprehensive checklists using environmentally safe products. The EPA provides guidance on safe cleaning practices. Book your move-in cleaning through our convenient online booking system and reclaim your time for unpacking and settling in.
Frequently Asked Questions
What should I deep clean before moving into a new home?
Focus on high-touch surfaces, appliances, and areas that accumulate dust and bacteria. Prioritize the kitchen (countertops, sink, faucets, refrigerator, oven interiors), bathrooms (toilet, tub, shower, faucets), floors, light fixtures, and baseboards. Don’t overlook cabinet and drawer interiors, window sills, and door handles. These areas often harbor dust, debris, and germs from previous occupants.
How long does it take to deep clean a house before moving in?
Time varies based on home size, condition, and how many rooms need attention. Prioritizing high-traffic areas and appliances first helps manage time efficiently if you’re working within a deadline.
What is the best order to clean a house before moving in?
Work from top to bottom and back to front. Start with ceilings, light fixtures, and high surfaces to let dust fall, then move to mid-level tasks like dusting and wiping cabinets and countertops. Clean bathrooms and kitchens next since they require the most disinfectant. Finish with floors by sweeping and vacuuming first, then mopping. This prevents recontaminating already-cleaned areas.
What supplies do I need to deep clean a new home?
Essential supplies include all-purpose cleaner, disinfectant spray, glass cleaner, microfiber cloths, paper towels, scrub brushes, a vacuum, mop, and trash bags. For bathrooms, add toilet bowl cleaner and a toilet brush. Have rubber gloves and a bucket on hand. If your new home has stainless steel appliances or specific flooring types, bring appropriate surface-specific cleaners to avoid damage.